1. Use The Rule Of Three’s
The rule of 3’s says that the actual subject of the photo should take up about a 3rd of the photograph, while the other 2/3rds of the photo should just be background. This doesn’t apply to all photos but you should always keep it in mind. Maybe you are taking a picture of a plant. Instead of just getting the plant, show the plant and its surroundings. This makes the photo more interesting and unusual.
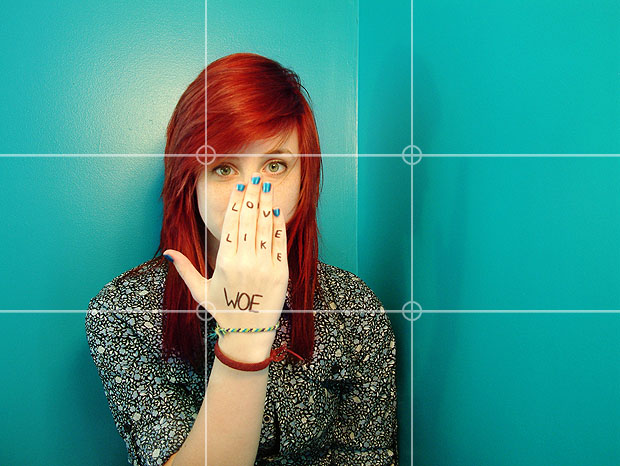
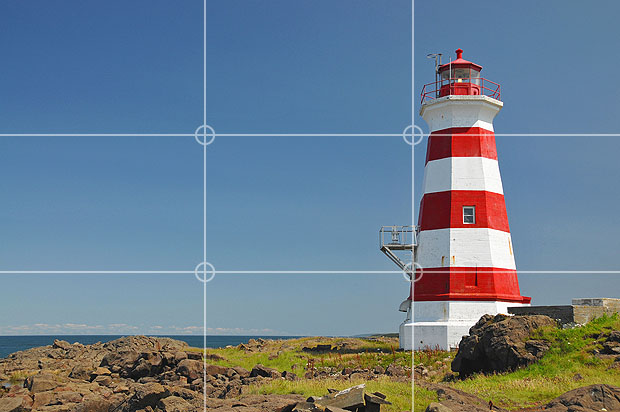

2. Put On The Grid Feature
This goes along with the point above. When you put the grid on when you are taking a photo there will be 9 equal squares. This helps so that you can make a photo look exact and use the rule of 3’s. It is super easy to turn this on and personally, I think it really helps. All you have to do is go to the settings app and scroll down to “Camera”. Once you are there you should see “Grid” that you can turn on. For some people, this makes it harder to take photos as it can be a bit distracting though.
3. Don’t Use Flash
FIND THE NATURAL LIGHT!
Most of the time, flash just makes a photo look fake, shadowed, sometimes harsh. Unless it is dark of course and you have no source of light, go ahead and use it. But look for something to use first, like another persons phone light/flashlight or a lamp to produce some light source on the subject. There now are even really cheap ring flashes (produces softer light) you can purchase that clips onto your phone!
4. Try Not To Zoom
Whenever possible try to physically get closer to subject If you can get closer by walking to it, that is highly recommended. Whenever you zoom in, it degrades the quality of your photo and makes it really grainy.
5. Clean Your Lens
It is a good idea to clean your lens every once in a while. The lens on your camera can get dirty super easy. Any soft cloth will do the trick. If you happen to have eyeglass cloths, those also work really well.
6. Try To Use The Rear-Facing Camera
This means instead of what we call our “selfie” camera, use the back camera as much as possible. The camera and lens on the back is a much higher quality image then the front.
7. Get A Tripod
The average price range is about $10-40 which is not that expensive. They are really useful if you have shaky hands. Maybe you are setting up a shot and need to change a thing or two, you can already have your iphone/camera in place without having to recompose again.
8. Portrait Mode
If you have portrait mode on your phone, USE IT! Its pretty amazing! Focus on your subject, and the rest will automatically go blurry if it is far enough away. For instance, don’t ever place your subject against the wall, have them up away from the wall, so wall becomes pretty and creamy.
9. Edit Your Photo
Last but certainly not least is edit your photos! Editing photos might sound complicated, but the basics are pretty easy. There are apps galore for photo editing from free to the higher end professional ones. If you find an edit you love and shoot a lot of the same things, save that edit for future use and then you can edit it in 2 seconds.
10. Play with Compositions & Placements
Get creative no matter what you are shooting with! Play around with different angles, look for cool light, shoot up and down.